Craft stampers, card maker of the year award 2010

Craft stampers, card maker of the year award 2010
Posts tonen met het label distress oxide. Alle posts tonen

vrijdag 1 augustus 2025

#200 Cats and dogs challenge at Lost Coast designs/Carmens Veranda stamps.

 
Hello stampers!
Good morning to all of you.
Today I have a card for the Cats and Dogs challenge.
I do love this theme so much and especially the pokey cat and dog stamps.
They're so funny.

I used for this card:
Lost coast designs

Distress Oxide,
Barn door,
Musterd seed,
Spiced marmelade.
Black waterproof inkpad.
Colorpencils or markers (your preference)

Now, I've used this technique for the background before.
So, here's the link to that tutorial.
And here ar some pictures on how to do it.


Are you joining the challenge?
You have a chance to win stamps of your choice.
You can even enter with other brands.
But please read the rules first, so you won't be disappointed.
The challenge runs until the end of the month. 
Hope to see you on the LCD blog.


woensdag 26 maart 2025

I love the "I am woman" challenge at lost Coast Designs/Carmens Veranda stamps.

 
Hello everyone, what a fun challenge.
I decided to make an Art Journal page of it.
With the subject "women" I immediately thought of Frida Kahlo. 
What beautiful art she made, and despite her physical suffering such a strong woman.
Here is the description of how I made it.

What do you need for this AJ page.

Shape die, Nellie Snellen, Vintasia oval with grid.
Black waterproof inkpad.
Distress Oxide,
Lucky clover,
Crackling Campfire,
Mermaid Lagoon,
Musterd Seed,
Wild Honey.
Coloring pencils

We start with three colors of ink and a little water.
We use that to make spots and stripes on the paper.

Repeat this with the lucky clover and mermaid lagoon.

Stamp the corner ornament with mermaid lagoon.
The calligraphy stamp with crackling campfire.
And the bubble stamp with lucky clover.
Make some splatters with black ink or paint.

Set it aside to dry.

Die cut the 3 parts of the die, the largest with black paper.
The 2 inner parts with white paper.
The middle part stays white.

The inner part is made green with lucky clover and a littlebit of water.

When its dry, splatter with the other distress oxide colors.

When all is dry, glue it together.

Stamp Frida in black waterproof ink.
Color with pencils or markers.
What ever you like to do most.

Do the same with the roses. 
I stamped 4 roses and colored with pencils.

Glue everything to the background.

Stamp with black ink the phrase from Carmens Veranda,
Be a girl with a mind.

I hope you enjoyed it.
Feel free to leave a comment and if you have any questions, feel free to ask.
Now it's your turn for the challenge.
You probably have a stamp with a woman on it.
It can even be from a different brand, as long as you use stamps you can participate.
And maybe you'll win a prize, that would be nice, right?
Until next time, and have fun crafting.


dinsdag 4 mei 2021

Artjournal pagina.

Deze artjournal pagina heb ik gemaakt met stempels van
IndigoBlu
Studio Light en Crealies.   
De tekst is gestempeld met alphabet stempels van
CraftEmotions.


.

zaterdag 24 april 2021

Challenge 120 at Lost Coast designs, Sentimentally yours.

 Hello dear visitors, today my (Riet) take on the challenge.
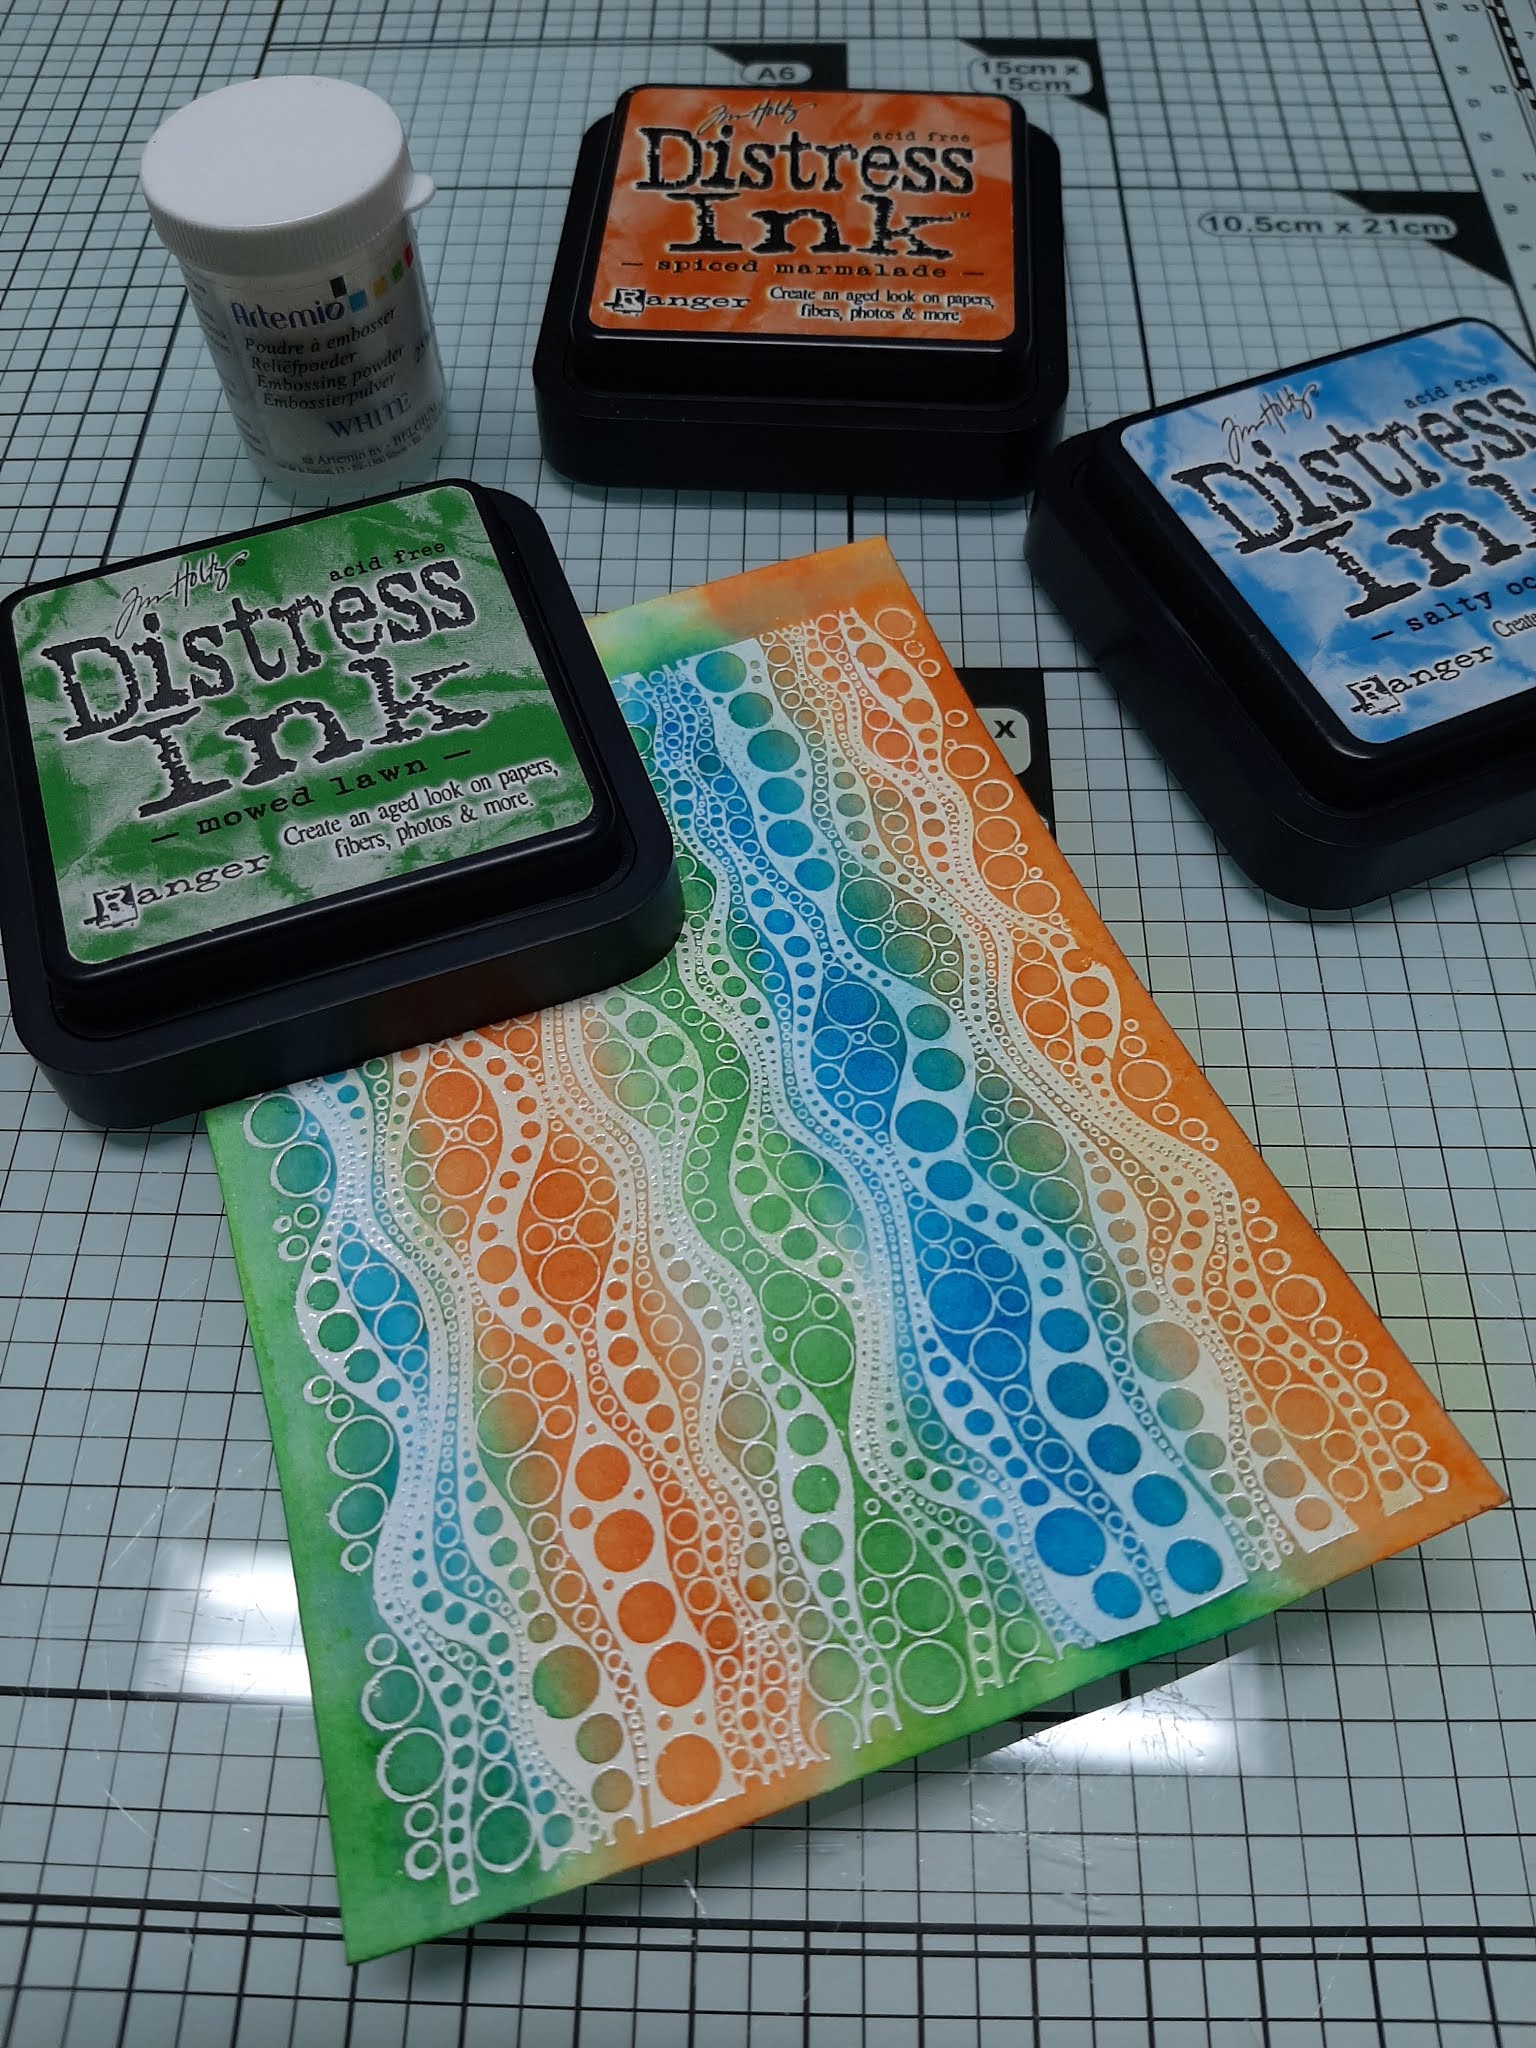
I used the LCD bubbles background stamp, 
and the CV, I am a child of the moon saying.
This is one of my favorite CV sayings.
But if you have some time, go visit the CV webstore.
Its stuffed with funny and lovely sentiments and sayings.
Did you now that Lost Coast Designs and Carmens Veranda still has a 25% discount?
This card is easy and fast to make.
You start with stamping with versamark the bubbles background.
Sprinkle white embossingpowder on the versamark print.

Then you start spunging with 3 colors distressink.


Now on a black piece of paper you stamp with versamark the CV sentiment.
Heat set the white embossingpowder.
Take a die cut you like and cut it out.
Glue the card on a white and a black cardstock. This gives it a bit of drama.
With some foamtape you glue the sentiment on.
Easy peasy, dont you think, and what a lovely effect it has.

Now show us your take on this challenge,
The team would love to see what you make.
Come and join, and maybe you will win some rubber and our lovely winners badge. 

Did you know that we have a very active facebook group?
Come on over and join us for lost of stamping fun.


donderdag 15 april 2021

#120 "Sentimentally yours" challenge at Lost Coast Designs.


Hi there, today it's all about the sentiments.
For this card I used the Carmens Veranda sentiment "Wine and chocolate".
I can recommend you to take a look at this page at Carmens Veranda.
It is full of the most funny sentiments and saying.
You will have a big laugh, and that is always good.

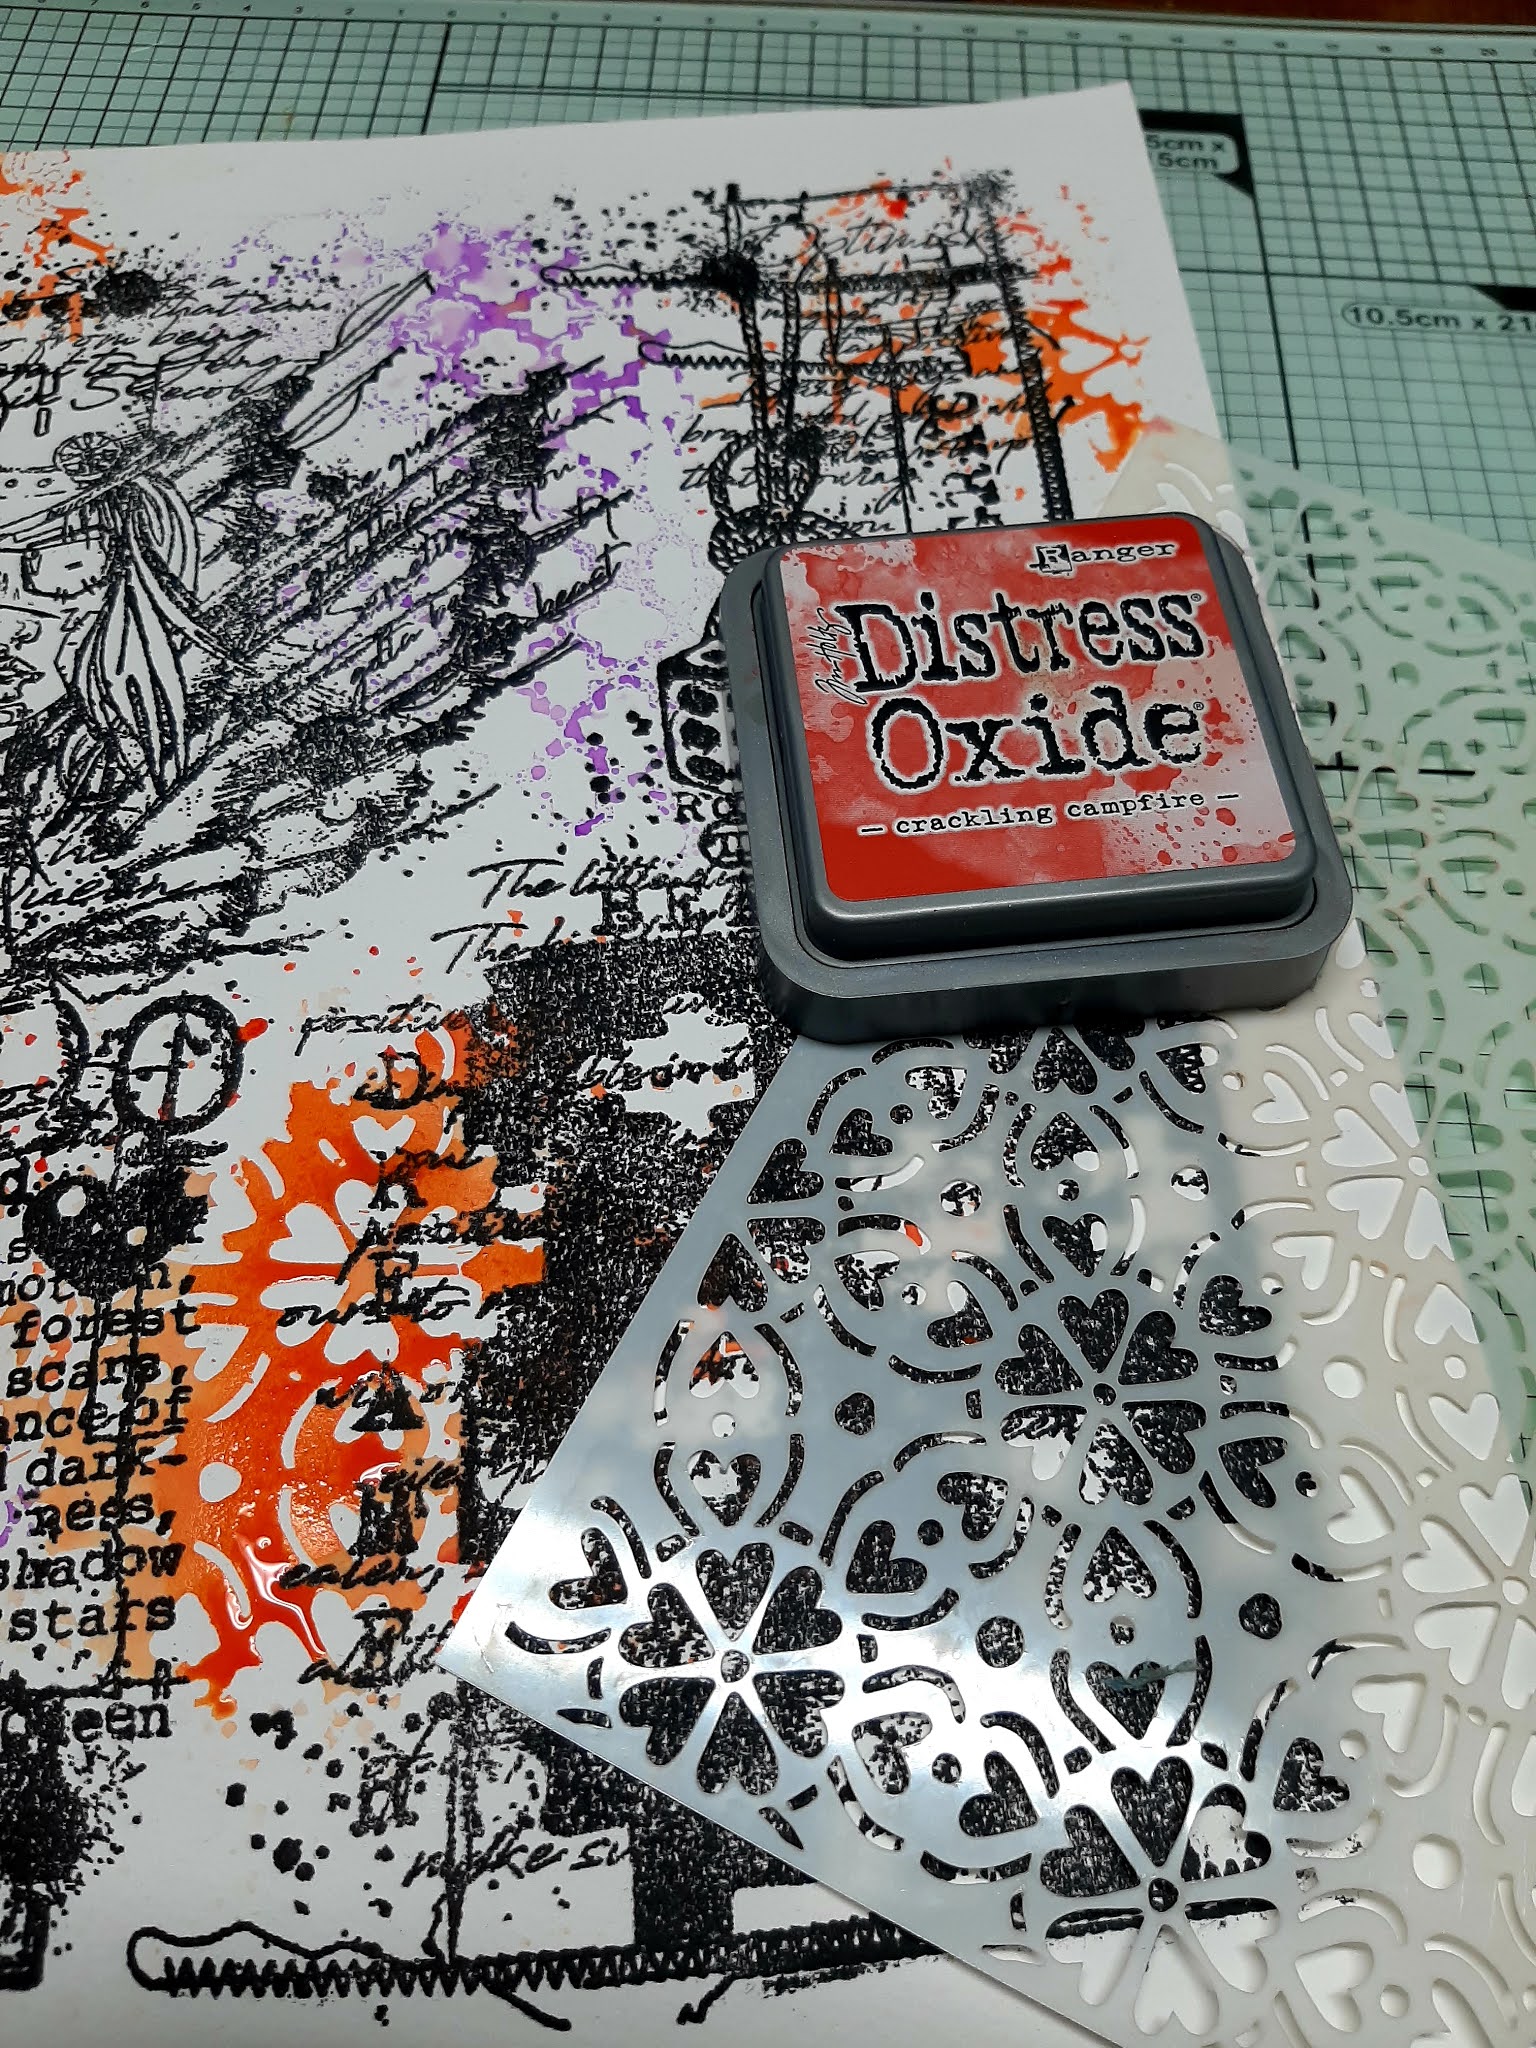
Now for this card I used 3 colours distressink.
Made puddles with water and swiped the paper trough it.
Then with the same colours distress oxide I inked a stencil.
This one is from DutchDoobadoo called vintage.
Sprayed some water on it and used it as a stamp.
Stamped with black stazon the sentiment.
And to finish it off I taped some glitter tape.
Some black cardboard for the back and its finished.

The team at Lost Coast Designs would love for you to join us .
Here is the challenge 
There must be stamping on your art, but all stamp brands are welcome.
There is a price to win, so thats fun.

I just want to draw your attention to Cathy, oure team member.
She always makes the banners for our challenges, and does it very well.
Thank you Cathy.
http://alteredcelticgypsy-cathy.blogspot.com/


maandag 12 april 2021

De prachtige Aall & Create stempels

Hallo allemaal, 
Tja, zoals ik in de titel al zeg, de mooie Aall & Create stempels.
Ze zijn te koop in onze favoriete hobby winkel in Goirle.
Ik heb voor deze tutorial gebruik gemaakt van de 
En dit heb ik ervoor gebruikt.
Wilted violet
Crackling campfire
Kitsch flamingo
Lucky clover
Musterd seed
Bubbles
Wyber
Vintage
Ornament heart bloem

En nu dan de uitleg,
Hij is eigenlijk heel eenvoudig en zeker geschikt voor beginners en gevorderde.
Stempel met de versfine de afbeelding op aquarel papier.
Dan smeer de Distress oxide direct op de stencil.
Spray er een klein beetje water op en druk hem in de ruimtes tussen de afbeeldingen.
Dit herhaal je met alle kleuren en stencils en je stop pas als je er zelf tevreden over bent.
Droog het papier goed voor je verder gaat.
Daarna ga je heerlijk met de aquarel potloden inkleuren.
De metalen elementen op haar hoed, ooglap en wang en kin heb ik grijs gemaakt en bestreken met de Nuvo aqua shimmer (glitter).
En afgewerkt met de witte gelpen.
Nu heb je een prachtig A4 schilderijtje dat zo ingelijst kan worden.
Vond je het leuk, laat het gerust weten bij de commentaren.
Groetjes en tot de volgende tutorial.

woensdag 24 maart 2021

Studio Light stamps, flower card

 Hi there, I made this card for a birthday.
I used Studio Light clearstamps and a stencil from Andy Skinner.
I also used Distress Oxide.


Here is what i used.
Distress Oxide
spiced marmelade, barn door, picked rasberry, lucky clover.
Studio Light clear stamps
Andy skinner stencil
Amsterdam white acrylic paint
A brayer.


vrijdag 12 maart 2021

Een snelle achtergrond maken.


Hallo, Riet hier.
Ik dacht dat het wel leuk was,
 om te laten zien hoe je heel snel een mooie achtergrond kan maken.
Dit heb ik gebruikt:
Stazon Royal purple.
Distress oxide.
Versa magic midnight black.
Witte gellpen.
DDBD mask Geomatric tiles.
Nuvo blending sponges.
Nuvo glitter marker.
Indigoblu flower heads.
Faber Castell pastel potloden.


Ik ben begonnen met 4 kleuren distress oxide's te sponzen met de Nuvo blending sponges.
Deze sponsjes nemen heel veel op dus met minder inkt kom je heel ver.
De groene kleur ontstond door dat de kleuren mengde.
Dat was dus mooi meegenomen.
Kijk maar eens wat een kleuren festijn.

Na het sponzen sprayde ik water, 


Het bolde een klein beetje maar na het strijken was het papier weer helemaal glad.
als of er nooit water op was geweest.

Nu ga je met het DDBD masker en de Distress oxide's,
en met de Nuvo blending sponges de figuurtjes aan brengen.
Gebruik steeds een contrast kleur.
Dit stencil is een van mijn favorieten, 
je maak deze achtergrond spannend met maar 1 stencil.

En zo ben je snel klaar met je achtergrond.
Maar natuurlijk is de kaart nog niet klaar.

Met de witte gelpen heb ik wat accenten op de figuurtjes aangebracht.
En de tak van de Indigoblu set met Stazon royal purple gestempeld
en overtrokken met de paarse Nuvo glitter marker.
De Indigoblu bloem gestempeld met Stazon Royal purple,
en gekleurd met de pastelpotloden.
Ook hier weer de witte gelpen gebruiken.

De teksten heb ik het papier bewust niet gesponst.
Ik wilde dat ze echt op zouden vallen.
Dus die heb ik door druppeltjes distressoxide gehaald.
De tekst ook gestempeld met Stazon royal purple.
De kaart heb ik rondom 4mm ingekort en de randjes van de tekst 
en de kaart even aangezet met Versa magic midnight black.
Nu is hij klaar, even matten op een witte kaart.
Dit is een 275 grams papier en dus stevig genoeg om het gewicht van bovenste kaart te dragen.
Ik hoop dat jullie deze tutorial leuk vinden en veel plezier in het creëren ervan hebben.


donderdag 28 januari 2021

#114 Lost Coast Designs Gnome challenge, Colorful sweater gnome


Welcome back to Lost Coast Portal to Creativity where Lost Coast Designs and Carmen's  Veranda collide to bring you twice the inspiration and double the fun!


Hallo everybody, Riet here. 
And yes!!!! Its gnome time.
I love the little people. 
Lost coast designs has a lot of them, and they are all funny and cute.
(click here to see them) Gnomes
For this card I used the sweater gnome.
Do you want to now how I made this gnome card?
 Well here we go.
  I used:
Distressink,
Musterd seed,
Peacock feathers,
Dusty concord,
Picked rasberry.
Black fineliner (waterproof).
Derwent inktense pencils that match the distress colors.
A black waterproof ink, like stazon.
White gellpen.
Masking tape.

 We start with stamping the gnome with a waterproof black ink.
Stamp again on a piece of masking tape.
Mask the Gnome.
With a mandala stencil and the black fineliner, I have drawn a part of the mandala.
But if you like you can do the whole background.
With a yellow Inktense pencil I collered the background.
And with a orange inktense pencil I did some shadowing.
Take a waterbrush and wet the yellow and orange.
Its amazing what a color burst you get with a small amount of water.
Now color the gnome and use the water again.
For the scond background you just make some ink puddles on your craftsheet.
Spray some water and run your paper trough it.
With the white gelpen make some dots on his hat.
Make some accent on the gnome with the white gelpen.
Matt your card and you are finished.

Click on the banner for the challenge.
And please join us, there is some rubber to win.
And thats what we all love, winning some stamps.

maandag 18 januari 2021

Gnome doorhanger for the gnome challenge at lost Coast Designs


Door hanger.

 Hello everybody, Riet here.
Today a post for the gnome challenge.
Just love those funny gnomes,
they are so adorable.
Here is a list what I used for this door hanger.
Versafine onyx black.
Distress oxide ground espresso, Iced spruce, Speckled egg.
  And distressink Walnut stain.
Some cream colored paper.
Stencil with numbers.
Waterspray.
Coloring pencils/markers.
White gellpen.
Red posca pen.
Fine sandingpaper.

  I started with the distress oxide speckled egg and Iced spruce.
I made stipes over the paper in one direction,
leaving some room between the stripes so the cream color shows.
When it is dry I scored some lines on the backside of the paper.
With the Ground espresso I made the score lines brown.
Then I sprayed just a little bit water on the lines.
This makes the lines run out a little bit.
Now you make the numbers with the stencil and the Ground espresso.

On a piece of paper you stamp the gnomes and the keyhole with versafine.
Color them and cut them out.
 
Cut out the doorhanger and gleu it on the cardboard doorhanger (Ikea).
Now you glue the male gnome on the keyhole and let his hat stick out.
Then you glue the keyhole on the doorhanger.
Glue the girl gnome and the keys on.Sand the edges with sandpaper, and you are done.


 LCD team would love to see what you make with a cute gnome.
Here is a link to lost Coast Designs gnomes, so cute.
Show us, and you can win some rubber.
And here you can enter the challenge.

zondag 10 januari 2021

Challenge #113,Things beginning with a B, Beautyful girl, Bird.

 B for Bird and beautyful girl.


How are you all, hope you are crafting.
Because this is a fun challenge.
Something with a letter B makes you look at a different way at your stamps.
So our team leader Gail made a great choise with this challenge.
For this card I used the lovely vintage stamp Annie.
Also used the Victoriana set.
And the dictionary stamps.

What I used for this card.
Resist fluid.
A stencil with numbers.
A stencil with ABC.
Stazon Timber brown.
Distress oxide:
Iced spruce.
Antique linen.
Ground espresso.
Abandoned coral
Versa magic  Malted Mauve.
White gellpen.

How to make this card.

First I made a mix with the distress oxide antique linen and iced spruce on my craftsheet.
Then I incorperated the colors here and there on the paper.
Keep the colors on the paper light.
Now put the numbers stencil on your background and spray the resist flued.
Dry this very well.
Now with some abandoned coral and a little water you make the rest of the color on the card.
Make sure that you still can see the other colors shine trough.
With the dictionary stamp and stazon timber brown we make some prints. 
I chose to stamp it without the big word on top, but that is for you to decide.
The corner stamp is the stamp from the Victoriana set.
I stamped it half on the edge of the paper and made a corner stamp of it.
Stamped it with the stazon timber brown.
The medalion with the face is stamped with the Versamark Malted Mauve.
Now take a thin piece of paper and stamp Annie with Stazon timber brown.
Color the image with markers or pencils.
Glue her on the card and ad some highlights with the white gellpen.
The word “bird” is written with a stencil.
With the Maulted Mauve I made some splashes on the card.
Glue the card on 2 layers of cardstock, and your done.

 Now the team would love to see what you make with the letter B.
So join our challenge, and maybe you will win some rubber.

And dont forget to read the challenge rules.