Craft stampers, card maker of the year award 2010

Craft stampers, card maker of the year award 2010

vrijdag 16 oktober 2020

31 day's of Halloween challenge day 16 - Devil in disguise


Don't you love it, spooky and creepy furry friends.
On this card I used the "Devil in disguise"cat.
I wanted to create a feeling of hell.
So I used the shavingfoam technique.

What do you need:
Alcohol ink,
Sunshine yellow
Red pepper
Pitch black
A tray to fit your paper
Shavingfoam
Stazon black
White gelpen
markers or pencils

Spray a layer of foam in the tray.
Drop some drops of yellow ink on the top.
Try to process the ink in the top layer so that it turns evenly yellow.
Now you make a line of drops with the red ink. 
Not everywhere but spread over the foam.very carefully you spread the ink a bit with a spatula.
You do the same with the black, but dont use to much.
Remember, we are trying to make it look like the flames of hell.
Put your paper on the foam and let it absorb the foam.
Remove the foam with a wide spatula.
If this doesn't work for you, you can find tutorials of this technique on you tube.

Now you stamp the little devil cat on a peace of paper and color it.
Cut it out and glue it on your background.
I glued the text separately on the card.
But that is of course not neceessary.


I hope you have fun making your furry friend for the challenge. 
We love to see what you make.Please read our rules first.


zaterdag 10 oktober 2020

31 Days of Halloween, day 10 - When witches fly.


Last night I couldn't sleep.
I heard a lot of noise.
When I  looked out the window,
I saw the witches fly by.
And I was so afraid.....
BBBBRRRRRR.
And here they are, put down on paper.


The stamps I used are:

When witches go flying,
https://www.carmensveranda.com/clearstamps5all.html
Witch 2,
http://www.lost-coast-designs.com/women.html

I started with stamping the witches and masking them.
Them masked the moon.
I made this card with watercolor paint and for the outside I sponges with deep dark blue ink.
I made the stars with a white posca pen.
The witches are colored with markers.
 I went around the witches with a white gelpen
And for some highlites on the dresses of the witches.
The moon  is made with a lot of water and som drops watercolor paint.
So thats's the halloween card with the witches,
Are you joining our challenge?
Please do, it is great fun, and ther is a lovely prize to win.

Dont forget to read the rules.
https://lostcoastportaltocreativity.blogspot.com/p/challenges-rules-and-winner-badge.html

Click the badge to join the challenge.


dinsdag 6 oktober 2020

31 Days of Halloween Day 6, Pirate grave tutorial.

                                                                 Hallo dear reader.

 Do you already have the creeps for Halloween?

Well with this tutorial you will shiver and tremble with fear, AAAARRRRRGGGGHHH!!!

hahaha!


Lost Coast Designs Stamps I used.

Distress ink walnut stain - frayed burlap - antique linen.
Stazon timber brown, jet black.
Alcohol ink caramel and mushroom.
Viva decor inka gold, gold brown and gold.
Dark brown acrylic paint.
Small sponge, paint brush.
Aluminium foil.
Glue and hot glue gun.
Cardboard.
Stamping tool.
Water based markers (zig/tombo), dark brown, shades of beige, dark and light grey.
Watercolor paper.
Sizzix sizzlits docorative strip die, Ironwork gate.
Fake cobweb and some embellishments.
I used the little rum bottle, a pirate sword, pumpkin, metal charm skull.
Moss, make sure it is dry.


Step 1.
Cut and score your cardboard like this photo.


Step 2.
Take the aluminium foil and wrinkle it.
Don't flatten it but keep it a little bumpy.
Glue it on the cardboard with a glue gun.


Step 3.
Paint it dark brown with acrylic paint.
And make sure it is dry.

Step 4.
With a sponge you take some of the Viva Decor gold brown,
and wipe lightly over the brown acrylic paint.
do the same with gold, but only on some spots.
It should look like the ground is turned over.
Now let it rest so everything can dry very well.

Step 5.
The metal charm needs a little sanding and gesso or any primer will do.
Let it dry thoroughly.


Step 6.
Colour the charm with the alcohol ink, until it looks rusty.


Step 7.
Stamping the goth shrine.
Now take the stamping tool, and the watercolor paper.
We proceed as follows,

  1. stamp with distress antique linen the entire stamp.
  2. repeat this with the frayed burlap, but now only some pieces of the stamp.
  3. And for the last step you take the dark brown marker and use it direct on the stamp.

But its only for the shadows, so I did it on the edges and corners of the stamp.


 Step 8.
It is time to color in the accents and details with the markers and the waterpencil.
I was going for a weathered wood look.
If you want a stone look then you can do it with grey tones.


Step 9.
Now its time to stamp the big skeleton parts.
The upper and lower arm pieces, each 1 time.
Both hands 2 time, so there are 4 hands.
And 2 skulls.
When you cut out the parts, leave a piece of extra paper.
This is necessary to glue them together.


Step 10.
Now comes the tricky part.
Assemble the skeleton so that it looks like he wants to steel the charm.
Glue all parts on.
Cut of the remaining pieces of paper.


Step 11.
Die cut the fence and color it with the distressink as shown on the picture.


Step 12.
 I coloured the skull and hands that rise up from the grave a bit darker.
After all, they have been buried in the ground for a long time.
Now we are going to put it all together.
Fold the narrow side back and glue together.
Glue the headstone to the front.
I made a little cardboard support on the backside.
Glue the skull and hands on the grave.
Take pieces of the fence and glue them on the sides.
Glue on the moss and your embellishments.
Stamp the bird on bike with black stazon and cut of the crow.
Glue it on the tombstone.
With a black piece of paper you can make an eye patch for the skull.

Well I hope you enjoyed this tutorial, have fun with stamping.
And don't forget to join our challenge, we love to see your cards and projects.
And you can win a very nice prize.
This pirates grave is playing along with the monthly challenge at Sandee & Amelie's steampunk challenge.

donderdag 1 oktober 2020

31 days of Halloween


Hello creepy friends. It's finally here, it's Halloween month at Lost Coast Designs and Carmens Veranda Stamps. I am already shivering in my chair. Keep it in the loop, because our design team will post on facebook and blog every day. Come on and join the halloween fun.


woensdag 30 september 2020

Lost Coast designs & Carmens Veranda stamps challenge.

Hi there, Riet here with another jukebox card.

For this card I used the LCD Birds in tree's background stamp,
 and the Jukebox from Carmens Veranda.
I actually made this background for another card. 
But it was not so suitable for that card and I had not used it. 
So I found it very suitable for the vintage jukebox. 
I made the background with destress glaze resist.
And distress Walnut stain and Antique linen. 
I colored the jukebox with watercolor paint. 
I did the metal parts with a silver pen. 
Those parts seem to be made of chrome. 
Too bad it cannot be seen in the photo.
Add some accents with the white gel pen, then cut out and glue on. 
Hope you enjoyd the card. Dont forget to join our challenge.

https://lostcoastportaltocreativity.blogspot.com/search/label/Monthly%20Challenge


zondag 27 september 2020

Indigoblu autumn owl.

De kleuren zijn een beetje op de herfst afgestemd.
Ik heb eerst met distressinkt een vlek op de achtergrond gemaakt.
Daarna met distress frayed burlap de uil van indigoblu gestempeld.
Met een stamping platform, de randen van de uil met een donkerbruine stift aan stippen.
Ik heb daarvoor de Tombow chocolate gebruikt.
De tak heb ik getekent en ingekleurd met tombow stift.
Met distress inkt verdund met water de vlekken gemaakt.
Met een witte gelpen wat afgewerkt en de kaart gemat.


The colors are a bit in tune with autumn.
First I made a stain in the background with distress ink. Then stamped with distress frayed burlap the indigoblu owl. With a stamping platform, edges the owl with a dark brown marker. I used the Tombow chocolate for that. I drew and colored the branch with a tombow marker. Made the stains with distress ink diluted with water. Finished with a white gel pen and matted the card.

vrijdag 18 september 2020

#107 Mancave challenge at Lost Coast Designs - Carmens Veranda stamps

Hi everybody, I made this arrow card for the mancave challenge over at the LCD/CV blog.
Now here is how I made it.


Jukebox, http://www.carmensveranda.com/mancave.html
Cardboard arrow
Moddeling paste
Black acrylic paint
Rust colored acrylic paint
Viva Decor inkagold, Ice blue
Distress oxide spekled egg
Distress oxide black soot


I drew a large arrow from a piece of cardboard for the background.  

With a diamond plate stencil and modeling paste on the cardboard.

After drying for a while, I painted it black with acrylic paint.

After that I just hit the top with a sponge and inkagold Ice blue so only the diamonds are touched by the spunge.

With some rust-colored paint that I diluted with water,

I made some rusty spots here and there.

I sponged the small arrow with distress oxide speckled egg and with Distress oxide black soot I made some stains on it.

With a marker I wrote "man cave" on it.

I added a bit of black to the edge of the small arrow.

I colored the jukebox with markers.

And I did the tubes of the jukebox in Fluor colors.

I attached the small arrow and jukebox with 3d tape so that they are slightly higher.


Well this was the explanation for the Man cave card.

Now come on over and show us your take on the mancave challenge.

We love to see your gorgeus cards and makes.


 Dont forget to read the challenge rules.

 And all have a nice day.


zaterdag 12 september 2020

Lady's night over at Lost Coast Designs challenge.

#106 Lady’s nigth

Lost Coast Designs Challenge.

You can still participate until the 15th
And have a chance to win some rubberstamps.

Stamps I used. 

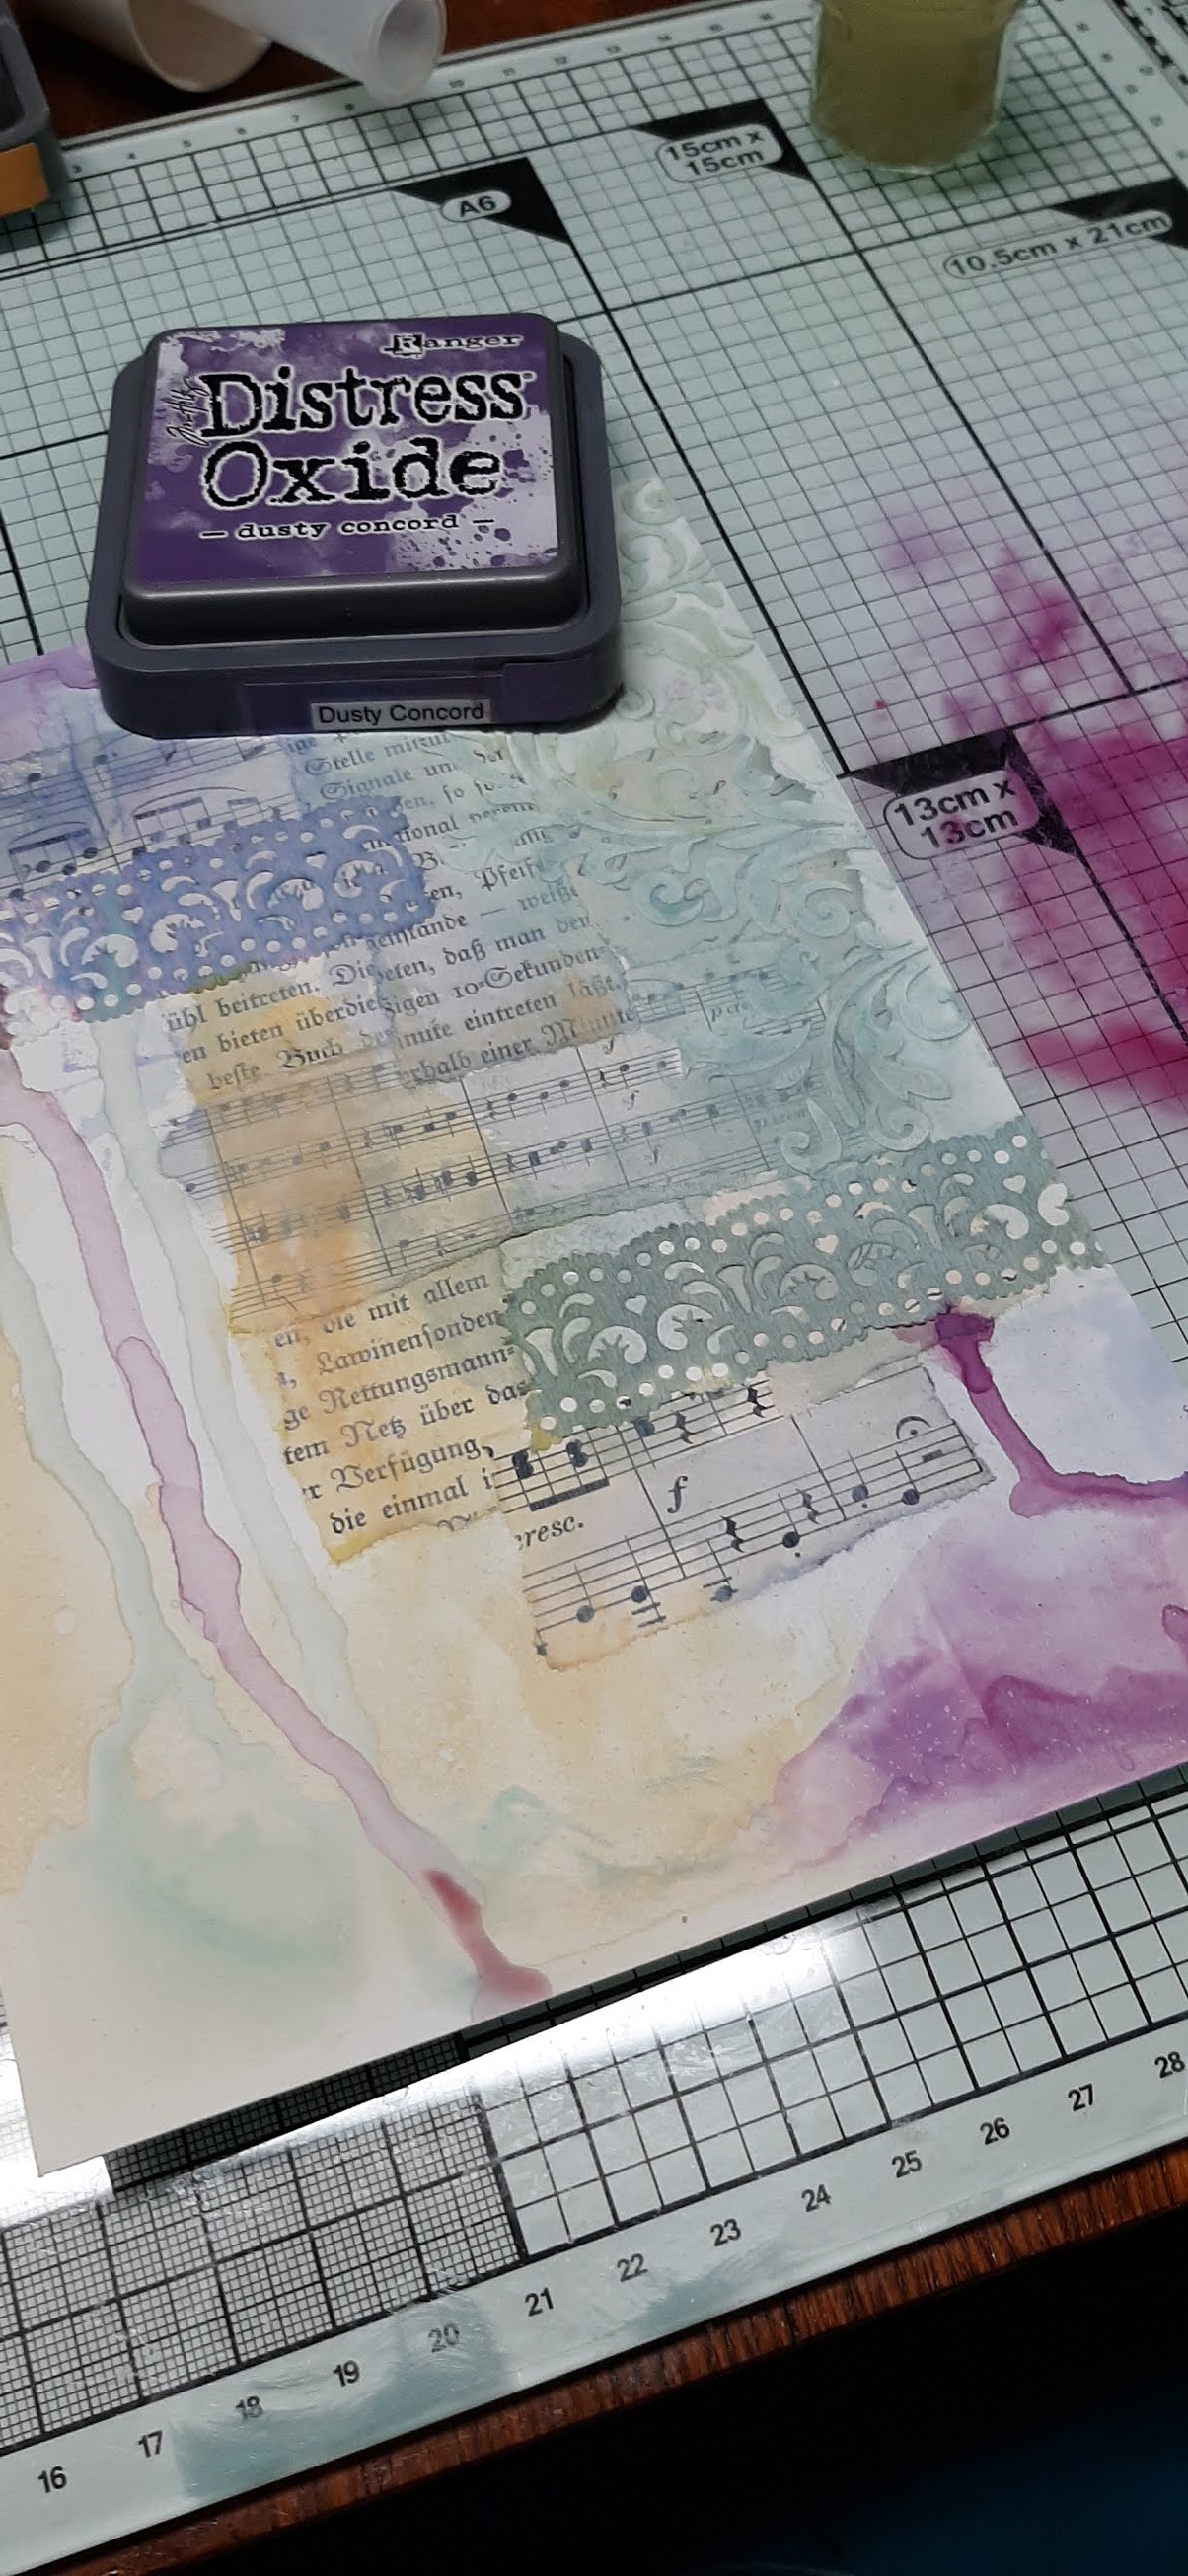
Distress oxide- speckled egg-dusty concord-antique linen.
NeocolorII - 010 yellow-100 purple violet­-099 aubergine-729 dark green
White Gesso
Modelingpaste
Paperlace
Chipboard
Sizzix bigs die, border.
Chipboard heart
Little pieces printed paper
White an black acrylic paint.
Gleu
Versa magic eggplant


 Hello Lady’s, this is our theme, Lady’s night.

This time I took a completely different path. 
Mixed media is not my thing, but I really enjoy trying new things. 
So I started to paste the papers with glue. 

Then applied the gesso diluted with water. 
I die cut the chipboard strip with the sizzix border.
Made the swirl with modeling paste and a mask/stencil


I also did that on the strip of chipboard.  
With the oxides I applied color to the paper, the modeling paste and the chipboard. 


Colored the edges of the torn paper with the neocolor II, 


stamped the text and showgirls with the Versa magic eggplant. 
Glued everything on and splattered white and black paint.
Hope you enjoyd it. 
If you like you can come over and join our challenge.
You are so welcome.

donderdag 10 september 2020

Ballerina, on flower pressed paper.


Hi there, years ago I had the honneurs of being a Designteam member of Craft Stamper magazine. In April 2012 page 74/77 I wrote a artikel about fresh flowers backgrounds. I love pressing flowers, so I made a card with this technique on the background.
Hallo, jaren geleden had ik de eer om bij het Craft Stamper magazine designteam te behoren. In April 2012 heb ik een artikel geschreven over het persen van verse bloemen op achtergrondpapier. Met deze techniek heb ik dit kaartje gemaakt.


dinsdag 1 september 2020

LCD challenge #106 Lady’s night


Hi there, today a new challenge over at Lost Coast Designs and Carmens Veranda stamps.
This time its "Lady's night".
So pick up your girl stamps and join the fun.

LCD Bubbles background, LCD 50’sGirl and a wise woman once said,  from Carmens veranda.

I stamped the girl with black stazon and then masked her. 
Torn a piece of paper slightly larger than the text stamp. 
Used it as a mask.
Stamped the bubbles background with stazon black. 
With Distress oxide, chipped sapphire and speckled egg spread on a sheet I lightly sprayed with water on the ink and the part with the girl  I swept in the ink.
Stamped the text in the open white box. 
Because I thought it was very white, I made some spots of ink with my finger. 
I colored the circles with the oxide ink with a brush. 
And I also colored her dress in this way. 
With a black fineliner I made a frame around the white surface and stamped the 
Carmens Veranda, "A wise woman stamp".
I dubbel matted the card, looks so fancy, hi hi.

Come on over and join our challenge, You can use any stamp compagny you want.

And there is a change to win some rubber.