Craft stampers, card maker of the year award 2010

Craft stampers, card maker of the year award 2010

zondag 30 mei 2021

#122 Under the sea challenge at Lost Coast Designs

Hi there,
 We are entering the last 2 days of the "under the sea" challenge. 
So this is the last Design team contribution of this challenge. 
I chose the steampunk mermaid again. 
I think she's such a sweetheart. 

I started with a background of Dylusionink sprays. 

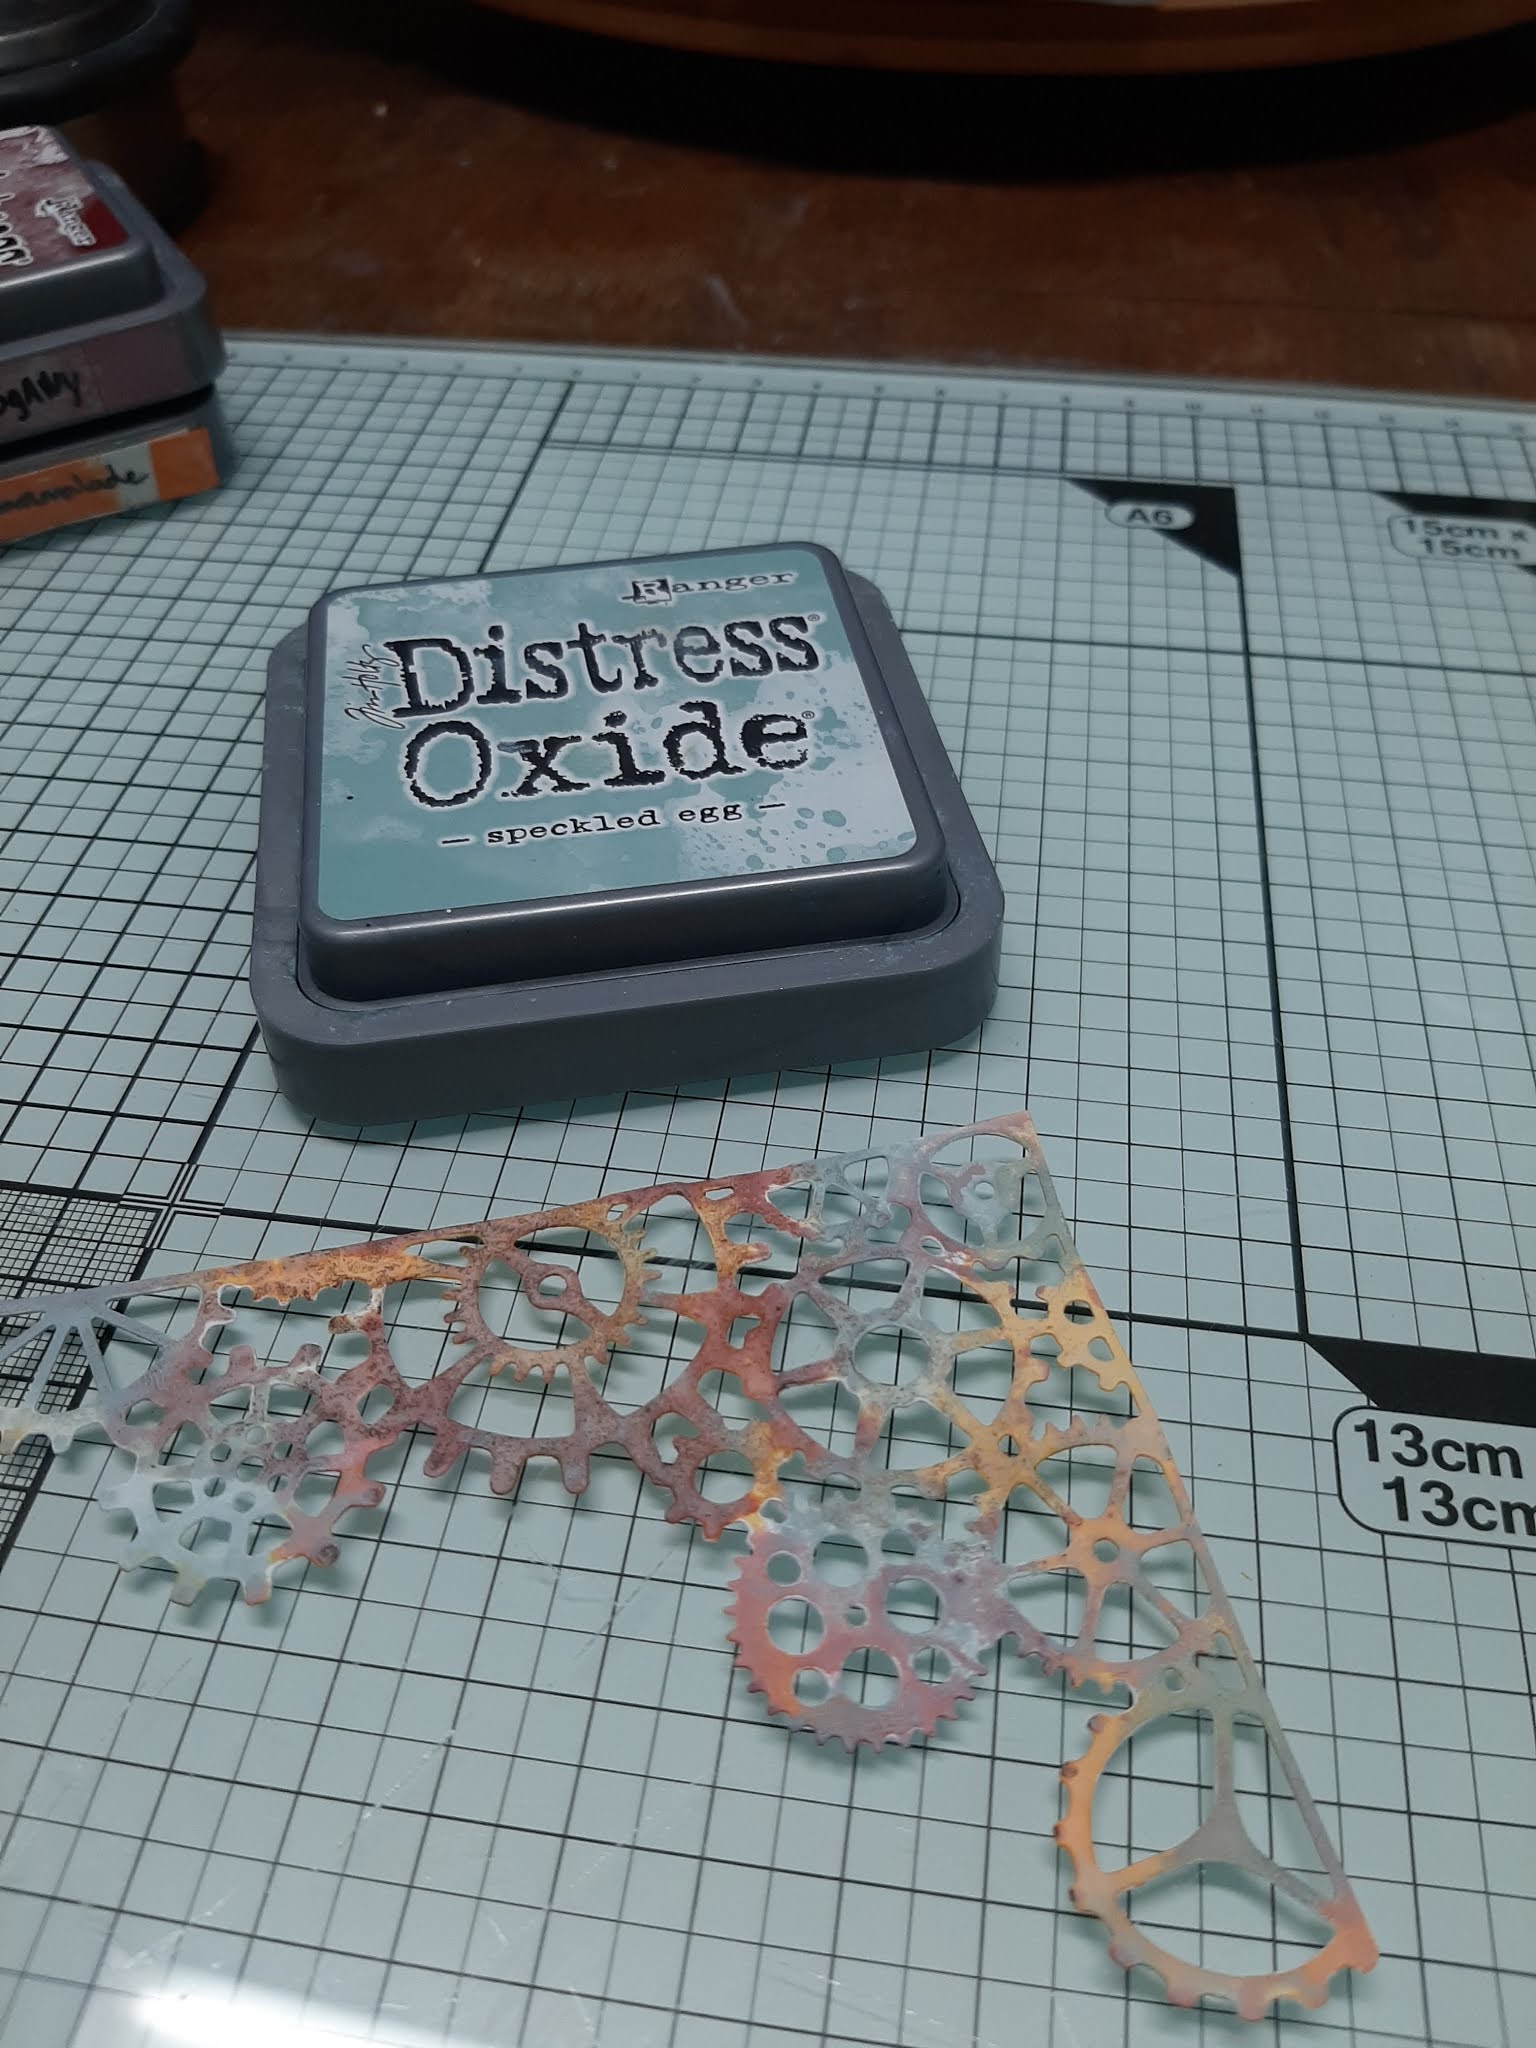
With distress oxide and some ocean themed stencils I finished the background. 

I also colored the corners with gears with distress oxide. 


I did the large gears with Americana paint. 
I have always applied layers and dots with my fingers so that you get an uneven structure.
I used red-yellow-green and brown for that. 


With a punch I punched out some twigs and colored them with water-diluted distressink. 
I colored the shells with Nuvo glitter markers. 
And I colored the mermaid with pencils. 
I covered the twigs, shells and mermaid with Nuvo aqua shimmer. 
I hope you enjoy this tutorial and get started with it. 
I am looking forward to seeing your work. 
You can still participate in the challenge and have a chance to win a prize. 
You can even participate with stamps from other brands. 
So come join quickly. 

I entered this card into the challenge:

Indigoblu's prachtige bloemen stempels.

Hallo allemaal, vandaag een bloemen kaart van Indigoblu.

Dit is wat ik heb gebruikt voor deze kaart.
Indigoblu colour me flowers
Distress oxide
Versafine onyx black
Tombow markers
Witte gelpen

vrijdag 28 mei 2021

#122 Under the sea challenge over at Lost Coast designs.


Hallo everyone, 
Today I made a wall hanger with the steampunk mermaid stamp. 
She is such a sweetheart, just love her. 
I made the wall hanger in aqua colors, but it is of course possible in any color that you like. 
With dylusions ink sprays I colored a piece of gauze. 
I colored the little pearls with alcohol ink. 
While it is drying I colored the mermaid with pencils and cut it out.
I had the rest of the decorations lying around for years, so a great opportunity to use them. 
I glued everything together. 

Then I added some fine glitter with the Nuvo glitter gloss. 
It is a pity that it cannot be seen in the photo, because it shines very nicely. 
The team and I are curious about what you make with this theme. 
There is still time to participate and have a chance to win a prize. 
So don't be shy and show us your work by joining our challenge.

Good luck


dinsdag 18 mei 2021

Let's squash it challenge. Use any Embossing Folder that leaves some space and Bling

There is a very nice challenge blog, Let's Squash it !!!
Every month a challenge with an embossing folder in the spotlight.
Well I don't know about your embossing folders? 
But mine have been in a container for years and are hardly used.
 So I am very happy with this challenge blog.
It makes me think about using my embossing folders more often. 
And for that I thank the ladies Gial and Jo of this nice blog. 
My contribution to the challenge is this card of a tree with red glitter stones that represent apples.
Take a look at this challenge and you might even want to participate.


zondag 16 mei 2021

Lost Coast Designs and Carmen's Veranda, Challenge #122 Under the sea.


Hallo everybody, 
Under the sea, that's a great theme. 

But my steampunk mermaid was so tired from swimming under the sea,
 that she wanted to rest for a while above the sea. 
I made this work with panpastel.
 And despite the fact that it was much bigger than I actually wanted, 
I am still satisfied with it. 
I colored the mermaid on thin paper.
Then glued her on the sand.
 And with a white gell pen I made the splashing water from the waves.

As for the challenge. 
The team would love it if you took part. 
It can be anything with the theme "under the sea".
As long as you use stamps on it. 
You can even participate with stamps from other brands.
 And of course there is a prize to be won. 
Please do read the rules.
Good luck and especially have fun joining the challenge.


donderdag 13 mei 2021

Drunk zebra!!!! Dronken zebra.

Mijn kaart vandaag laat een dronken zebra zien, daar heb je toch wel veel fantasy(ie) voor nodig om die te zien, hahaha!

Ik heb gebruik gemaakt van Craft Emotion's (zebra en alphabet), Studio light (zwarte rondjes) en Crealies (kringen en streepjes).
Verder heb ik ook gebruikt: Bubbles masker van DDBD, gelliplate, distress oxide en acryl verf. En gekleurd met tombo en fabercastell fineliner.


woensdag 12 mei 2021

This moment, werken met de Distress Marker Spritzer en Ecoline stiften.

  Hallo beste lezers,

Soms begin ik aan een nieuw werk met een plan in mijn hoofd.

Zo ook vandaag, ik wilde gaan werken met veel achtergrond stempels.
Maar opeens, zag ik hoe mooi de spetters op de achtergrond werden.
 Ik vond het eigenlijk zonde om daar overheen te stempelen.
Dus plan aan gepast.

Ik zal eerst een lijst geven wat ik allemaal gebruikt heb.                

Helaas is op deze foto de oranje glitter niet te zien, maar op de foto hier onder wel.


Tim Holtz marker spritzer.
Mandala stempel, Creative expressions.
Snipart softboard "This Moment".
Versamark clear embossing ink pad.
Wow embossingpoeder met glitter.
Distress oxide Spiced Marmelade.
Ecoline Brushpen 602-237-205-602
en de Ecoline blender.
Aquarel papier.
Zwart a4 om te matten.
Standaard wit a4 papier 160 gram
Versafine onyx black.
Papieren doily.
Heattool.

En zo heb ik de kaart gemaakt.

Ik ben begonnen met de papieren doily als masker te gebruiken.
Met de spritzer en de brushpennen heb ik een nevel aan spetters op het papier gezet.

Ongeveer zo ziet het eruit als je de doily verwijder.
Dan spray je wat water erop, en dat laat je aan de lucht drogen.
Dus niet met de heattool.
In de tijd dat de kaart ligt te drogen kan je de snipart kleuren met de distress oxide.

Droog goed met de heattool.
Met Versamark clear insmeren en de emossing glitter poeder er op strooien.
Verhit met de heat tool.

Stempel de mandala met Versafine onyx black.
Kleur hem in met de Ecoline brushpen.
Mat de kaart en als laatste lijm je de text op.
En klaar is de kaart.

Veel plezier met deze tutorial en tot de volgende keer.


maandag 10 mei 2021

Yeah, I am a guest designer at Let's Squash It!


Today I have the honor to be a guest designer at Lets Squas it !!!
This is a challenge blog that is all about embossing folders.
The subject of the new challenge is, use any Embossing Folder that leaves some space. 
And use some bling. Well thats great fun, right?
I used Nellie Snellen's embossing folder, 05 Rectangle Frame. 
And the beautiful stamp of Lost Coast Designs, Prom night
I stamped the stamp with Versamark and black with silver glitter WOW embossing powder
After that I run the card trough the Sizzix machine.

Also take a look at this nice blog and you might also have a nice idea to participate in the challenge.
Have a great day.

dinsdag 4 mei 2021

Artjournal pagina.

Deze artjournal pagina heb ik gemaakt met stempels van
IndigoBlu
Studio Light en Crealies.   
De tekst is gestempeld met alphabet stempels van
CraftEmotions.


.

zaterdag 1 mei 2021

Lost Coast Designs challenge 121, Mailart


 Hi, today I have a tutorial for the mailart challenge from Lost Coast Designs.
As this is my first mailart ever, I started with a postmark.
Years ago I bought a envelope with al kinds of postage stamps.
And yes, I was lucky.
I found a stamp with a chimpanzee.
And I could combine it with the three monkeys stamp.

This is what I used:
 Stencils
Distress Oxide:
Scattered straw,
Speckled egg,
Shabby shutters,
Peeled paint.
Ground espresso.
Masking tape.
Markers or color pencils.
Brown fineliner.
Stazon Timber brown.

And this is how I made the envelope.
I started with an envelope template and cut the envelope.
I tore a piece of masking tape to tape off the address portion.
And started sponging with the 4 colors, but not the ground espresso.
When I was done with that I sprayed some water on it, to make it a bit more interesting.


With the ground espresso I made some circles with a stencil.
And I sponge some around the masking tape and where the stamp will be.


When I removed the masking tape, I found the address spot to be very white. 
So I sponged some yellow distress there. 
But that is of course to everyone's own taste.
I stuck the masking tape back on its place.
With the ground espresso and a stencil,
 I sponged a bit more around the stamp spot and the address spot.
Now remove the masking tape,
and draw a fineline round the adress space.
Stamp the three monkeys on a thin paper with Stazon Timber brown. 
Color them and cut them out. 
Glue the monkeys and the stamp in place.
And now you are done.

I hope you liked it.
The team would really appreciate it if you let your work participate in the challenge. 
You can also win rubber stamps. So that's a bonus.
Please read the rules first.