Craft stampers, card maker of the year award 2010

Craft stampers, card maker of the year award 2010

dinsdag 22 november 2022

Challenge 156, Tag you're it at Lost coast designs and Carmens Veranda stamps.


Hi there, today its a tag for the challenge at Lost coast Designs.
The stamps i used are:

I made a background with a bubbles stencil.
I stamped the fish collage stamp with black stazon on it.
Then I drew a wobble line above the stamp with a waterproof fineliner.
Above that I stamped the swirl with black stazon.
And another wobble line drawn.
Above that I stamped the checkerboard.
And gave the stamp white squares with a white posca marker.
I stuck washi tape under the collage stamp.
And underneath that I stamped the checkerboard border again,
 and just like above I made the open blocks white with a posca marker.
With markers i colored the collage stamp.

Now about this beautiful collage stamp.
There are 8 new collage stamps on the LCD site.
There is also a nice new set of stamps called "Brush strokes".
Feel free to take a look, click here to view them.

Do you want to win new rubberstamps????
Make a tag and come and join us at Lost Coast designs challenge.


woensdag 16 november 2022

A new challenge at lost coast designs blog, "Tag you're it".

 
Hello, today I have a vintage tag for the tag challenge.
I myself love this style, I like old stuff and romantic style.
The roses stamp and the label set is perfect for this vintage tag.
I'll explain how I made it.

This is what I used.

Distress ink
Victorian velvet
Aged mahogany
Distress oxide
Bundled sage
Rustic wilderness
Stazon timber brown
Markers or pencils in the same colours.
Crealies xxl tag nr.6
 
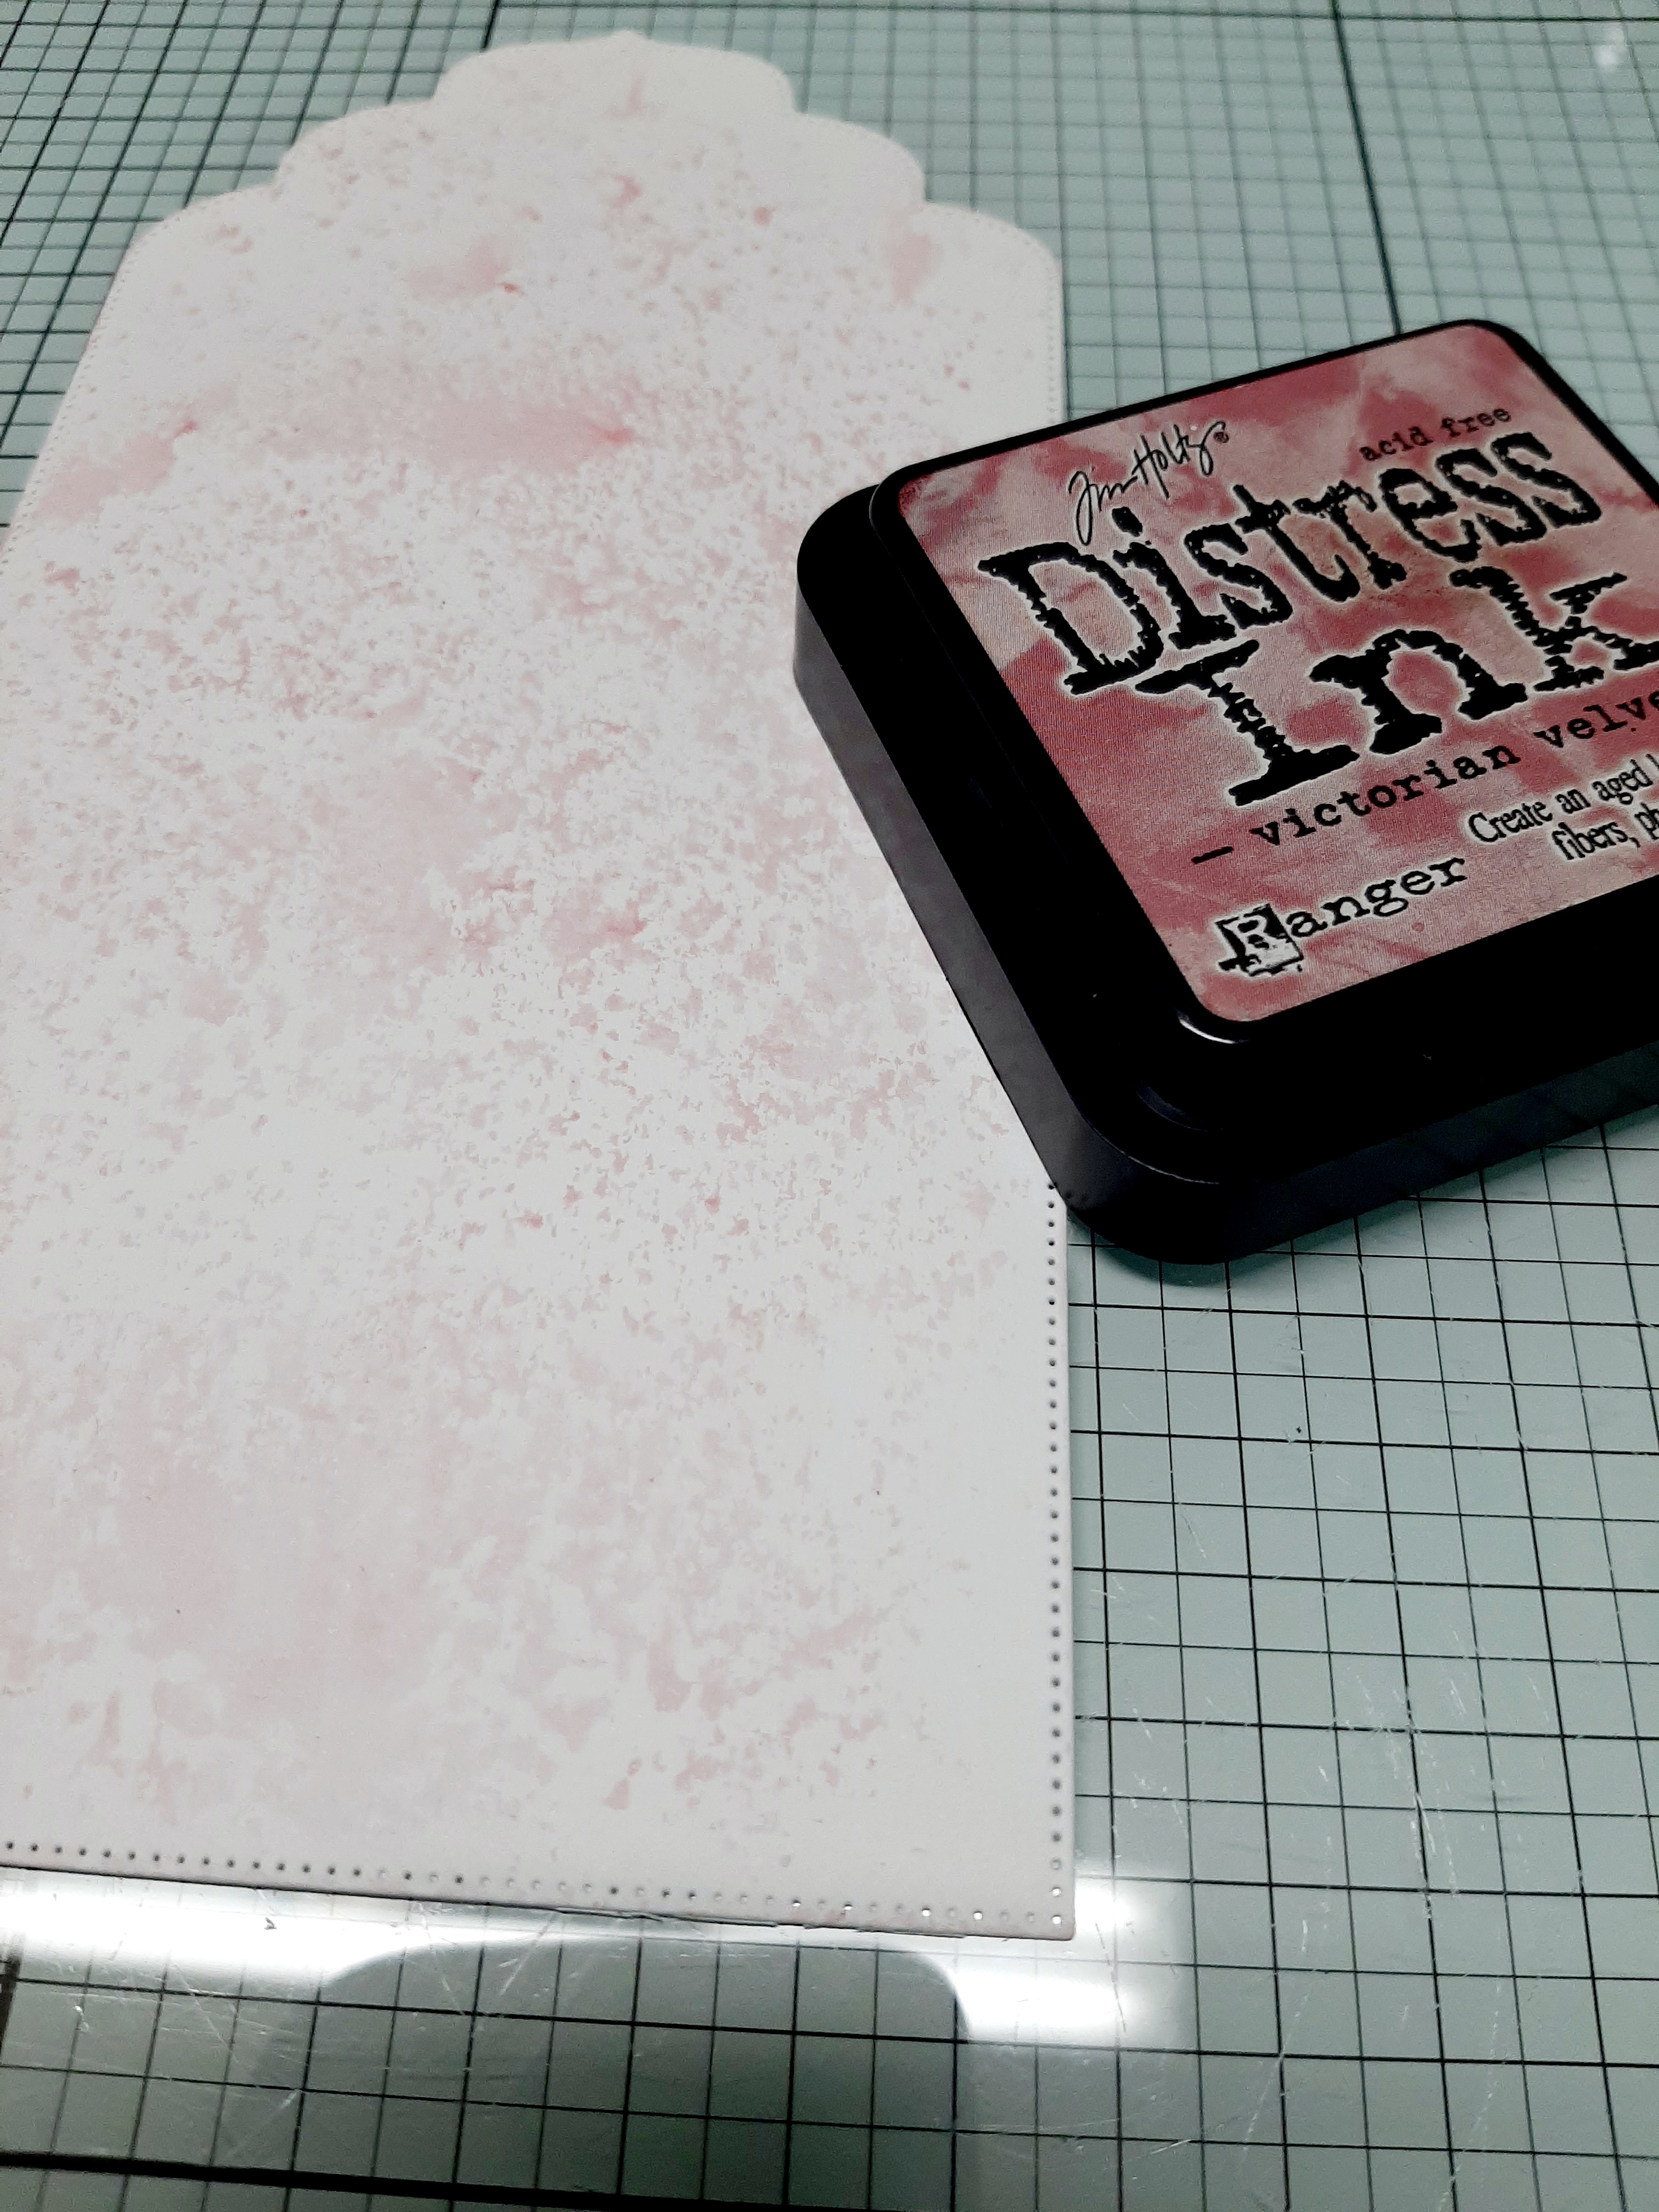
With victorian velvet I made some ink stains on the tag.
I applied ink to the stencil with Distress aged mahogany and sprayed it with a little bit of water.
You can print the stencil on the tag.
I did the same with the victorian velvet.
Then I added Aged mahogany here and there with an inkblender brush and the stencil.
Look what a beautiful background you get.

With the ledger stamp and Aged mahogany I placed a print here and there.
This will give your background more depth.
And with Rustic wilderness I stamped the roses on the right corner of the tag.
while the background is drying well, we continue with the Label and rose stamp.
We stamp these stamps with Stazon Timber brown.
I colored them with water based markers.
Cut them out, I cut the roses into pieces.
This way you can arrange the roses more easily around the label.
Stick the label on the tag with foam tape and do the same with the roses.
Hope you liked this tutorial,
 and join oure tag challenge at Lost Coast Designs and Carmen Veranda's stamps.
There is new rubber for the winner.
You can even join with other brands, you can read all about it in the rules.
Have a nice day and till next time.


dinsdag 1 november 2022

#155 New challenge at Lost coast designs, Spooktacular florals.

 
Hello all,
Today a super fun challenge starts at Lost Coast designs.
Spooktacular Florals, love it.
This time I made a tag.
I had so much fun making it that I completely forgot to take step by step photos.
But I will give an explanation, maybe it will help you if you also want to make something like this.
What you need to make this tag.

LCD stamps:
If you are interested in the stamps, all you have to do is click on the link.

White embossingpowder
Black paper
White inkpad
Stazon black
Distressink,
Musterd seed
Rusty Hinge
Seedles preserves
Versamark
White embossingpowder
Pink, purple and green acrylic paint.
A tag or tag die.
We'll start with the black paper.
We stamp the Frida skull and the Florish with versamark.
Sprinkle it with the white embossing powder.
Heatset the embossing powder.
Color with a brush and acrylic paint.
I sponged the tag with the Distressink,
Musterd Seed, Rusty Hinge, Seedles Preserves.
Stamp on the lighter spots with a pices or calligraphy stamp in Rusty hinge.
Do the same on dark spots with white ink.
Stamp with the cobweb background here and there with black stazon.
Do the same with white ink.
Stamp the moth with stazon black, in the lower left and upper right corners.
Stamp the edges with the stamp of the Brush strokes sheet.
Sponge the edges with some black ink.
Cut out the Frieda skull and the florish and stick them on the tag.
I cut the florish into pieces and glued it around the skull.
And then you're done, hope you liked it.

You might like to join the challenge.
You can even participate with other brands, but read the rules first to avoid disappointment.
So join the fun and have a chance to win new stamps.


dinsdag 25 oktober 2022

Day 25 of the 31 days of halloween, #154 cats and dogs

 Hello dear stampers,


Today it's my turn to show something with a Halloween dog or cat.
This is a really fun challenge.
Will you join us?
You probably have a stamp that you can use for this challenge.
It doesn't matter which brand, you can still participate in the challenge.
For this card I used the Spiderweb background stamp.
A stamp from the sheet Pieces of calligraphy.
And the text of the "Devil in disguise" stamp.
I also used a cobweb stencil from Dutch Doobadoo.
I started by coloring the card background with water and ink.:
Distressink musterd seed - Rusty hinge - Pumice stone.
With the stencil and Adirondack colorwash Purple twilight,
 I sprayed in the top left corner and bottom right corner.
Looks black in the photo, but is a very deep dark purple.

I stamped the center piece with the spiderweb background stamp and black ink.
I stamped Spike and Lucy with waterproof ink on a thin paper.
Colored with pencils, and with a red posca I drew the horns on spike's head.
I cut a witch hat from black paper and glued it on Lucy's head.
In the lower left corner and upper right corner I stamped the text with Distress oxide Crackling campfire.
I stamped the text on a strip of paper.
Stained the paper with Distressink Musterd seed and Rusty hinge.
the spider has been glued up and the text raised a bit, pasted on with 3d tape.
This was the explanation for the card.
So join the challenge and maybe you'll win.


maandag 17 oktober 2022

Day 17 Lost Coast designs 31 days of Halloween. Cats and dogs


Hello all,
The second part of the 31 day halloween challenge at Lost Coast Designs has started.
Now its Halloween with cats and dogs.
This is so much fun!!


Now for the explanation of my contribution.
I used the door and window set and the Devil in disguise stamp.

Stamp the Devil cat and the windows with a permanent ink.

Mask off the cat.

Because I can't draw at all, I used a stencil with flames.
I drew this in pencil.


The rest I colored with Derwent Intense pencils.
I covered the devil's horns and wings with a red posca marker. 
And sponged the edges with Distress ink black soot.
Did the top extra so it would look like smoke.

And that was about it.
Seems difficult but it isn't, give it a try.
If you have a nice stamp with a dog or cat, make something Halloween like with it.
Then you can join the challenge.
And you might even win a prize.
You can also use other stamp brands, so join in.


woensdag 12 oktober 2022

#153 at Lost Coast Designs blog is the 31 days of Halloween challenge.

Hi there, 
Today I made a tag with the Long swirl in the background and the white nose sugar skull.
I love to color with my aqua markers, but I made the background with watercolor paint.
Here is a step by step explanation.
I stamped the white nose skull with Versafine onyx black.
I then colored the skull with aqua markers.
Then I painted the background with 3 colors of watercolor paint.
I lifted the paint with the long swirl stamp and water.
With distress pine needles I stamped the long swirl along the skull.
I also made some splashes on the tag with white acrylic paint.
Do not forget to cover the skull.
I made the edges of the tag dark with distressink black soot.
Staple a ribbon to it and you're done.

We as a team would love it if you would join our challenge,
 at Lost Coast Designs and Carmens Veranda stamps.
You are free to participate with whichever brand of stamps you want.
But read the rules first to avoid disappointment.
So I hope to see your name there, and maybe you'll even win new stamps.


vrijdag 7 oktober 2022

Lost Coast designs challenge #153, 31 days of Halloween.

Hi everyone, do you also like a challenge, I do.
Especially with a Halloween theme.
Join the Lost Coast Designs and carmens Veranda Halloween challenge and you might win a prize.
Now my DT contribution.
I chose to make a Halloween spool.
I used these stamps from Lost Coast designs.

I also used a number of dies such as the fence and the bats.
And with a circle die with a scalloped edge I made the circles with green paper.
I stamped the circels with black ink and the Long swirl stamp.
I colored the Goth shrine with Tombow markers.
Then stamped the spiderwebs background with black ink on orange paper.
On a transparent sheet I stamped the dancing skeletons with stazon jet black.
Then I colored the skeletons with a white posca marker.
I colored the fence and the bats with tombow markers.
I decorated the rest with some moss, spider web, pumpkins, spiders and a skull.


I had a lot of fun making this Halloween spool.
 Now the LCD team would love to see your work on the Lost Coast Designs blog.
So maybe until next time. 


woensdag 5 oktober 2022

Yeah!!!!! Its 31 days of Halloween at Lost Coast Designs.

Hello all,
Do you also love Halloween?
I do, and Lost Coast Designs and Carmen's Veranda,
 have super cute Halloween rubber stamps.
So I started working with my stamps and ink.
This time a card with a lot of ink blending.

Stamps I have used.
What else I have used:
Versafine onyx black.
Stazon jet black
distressink,
Dusty concord
chipped sapphire
Seeds preserves
black kind
spiced marmalade
Mustard seed
crackling campfire
Distress Oxide Dusty Concord
Purple and black background cardstock
Stencil for the purple background
maskin tape
circle punch
White gel pen.
White pigment ink.
Die cut tag.
Halloween embellishments.

I started by stamping the witch with the stazon jet black.
Without masking the witch, I stamped the grunge tree over it.
I did this on purpose because I wanted to make it look,
 like the witch is flying behind the tree.
Now I mask the witch.
With an ink blending tool I made a large spot with musterd seed,
 on the spot where I want the moon.

There I stick the circle mask on the yellow spot 
and go over it again with the musterd seed ink blending tool.

I did it also in the right under corner.

     With a piece of torn paper I made some hills. 
On the left with crackling campfire,
 and on the right with spiced marmalade.
I also went over the Crackling campfire with a bit of seedles presurves.

With distress seedles preserves, chipped sapphire,dusty concord I further finished the sky.
I finished the edges with distress black soot.

I colored the witch in with some markers.

I have outlined the witch, the hills and the tree with a white gel pen, 
so it looks like the moon is reflecting light.
Put stars in the sky with the gel pen, also some shooting stars.
And some white dots on the tree trunks.

Using Colorbox white ink and the white gel pen,
 I applied some horizontal streaks like wisps of fog.

Now take the purple cardstock and the stencil.
With the distress oxide Dusty concord and a blending brush,
 we apply the pattern of the stencil.
Set it aside so that it can dry thoroughly.

Now the text label.
Die cut a tag/label.

                                     With an ink blending brush, apply distress musterd seed on top.
 And spiced marmalade on the outer edges.

Do the edge with distress black soot.
Stamp the text with Versafine onyx black.

Now assemble the card and glue some nice embellishments on it.

You must have allready made something fun for Halloween.
Then join our challenge, but read the rules first, so you avoid disappointment.
So join us and have chance to win some rubberstamps.